WordPress Website Redesign: A Practical Step-by-Step Guide
The UK Government's 2024 UK Business Data Survey found that 68% of UK businesses had a website, including 74% of micro businesses, 93% of small businesses, 97% of medium-sized businesses, and 99% of large businesses (UK Business Data Survey 2024). Having a website is no longer the differentiator. The differentiator is whether yours helps people understand, trust, and buy from your business.
A WordPress website redesign can improve that experience, but it can also create expensive problems. Lost URLs, slower templates, broken forms, inaccessible components, missing analytics, and plugin conflicts rarely appear in the glossy design presentation. They surface after launch, when search traffic falls or a customer tells you the checkout doesn't work.
A reliable redesign treats the website as a business system. Design matters, but so do content architecture, technical SEO, mobile performance, accessibility, analytics, maintenance, and the people responsible for decisions after launch.
Table of Contents
- Why Your Current Website Is an Asset Drag
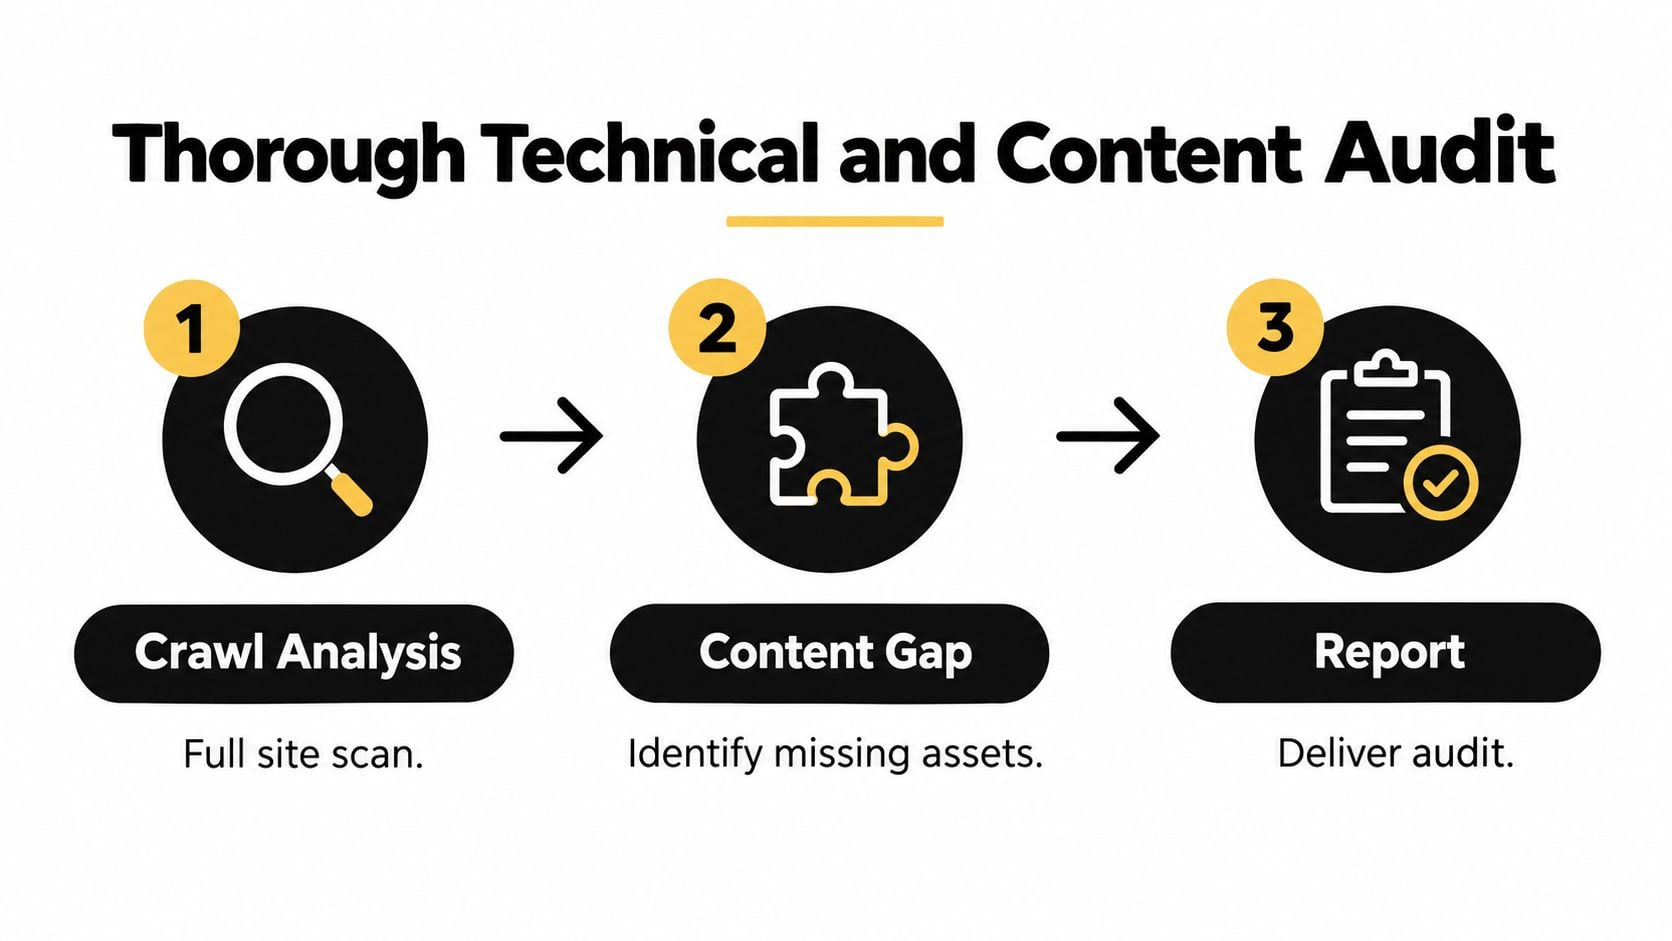
- Conducting a Thorough Technical and Content Audit
- Choosing Between a Custom Build or Existing Theme
- Executing a Zero-Downtime Migration and Launch
- Ensuring Accessibility and Post-Launch Compliance
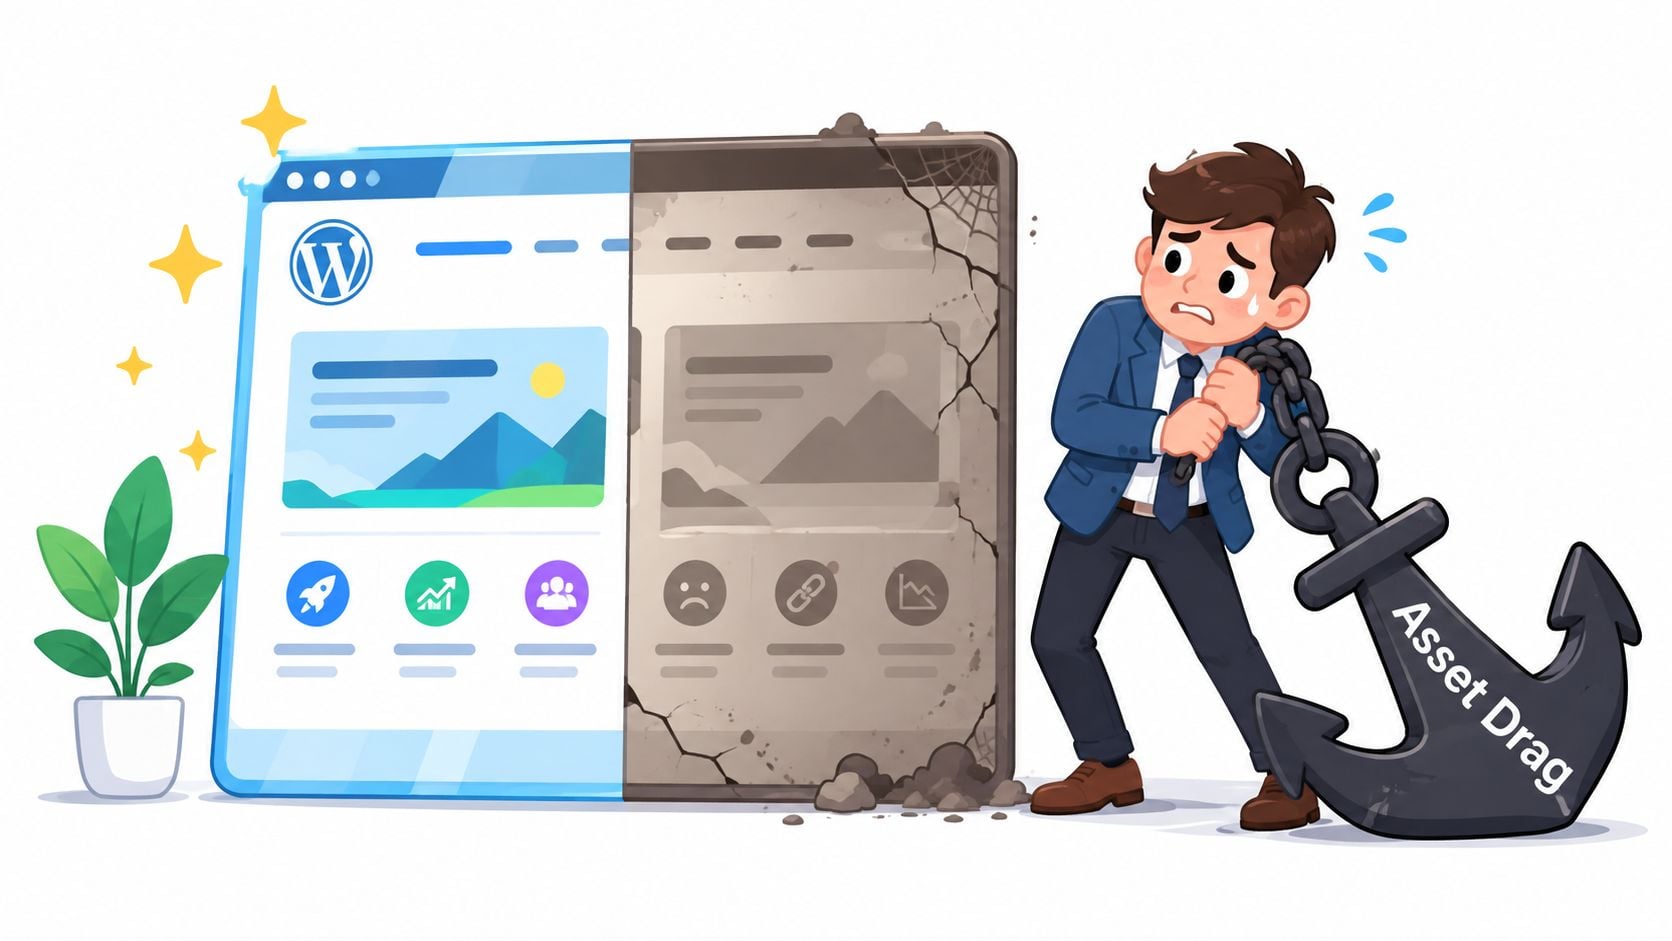
Why Your Current Website Is an Asset Drag
A website can look old without being commercially useless, and it can look modern while blocking enquiries. The distinction matters. A dated colour palette is a refresh problem. A confusing service structure, untracked form journey, unstable mobile layout, or collection of abandoned plugins is an asset problem.
The UK business figures put the decision in context. A website is already standard practice for most established organisations, yet smaller firms remain less likely to have one than larger businesses. A redesign should therefore move beyond merely maintaining an online presence. It should give the website a defined job, such as generating enquiries, taking bookings, selling products, or collecting registrations.
Consider a professional services firm whose homepage receives regular organic visits but sends visitors to a generic contact page. The visual design may be acceptable, yet the site still makes prospects work to identify the right service, understand the next step, or trust the business. A retailer can have the same issue in a different form: attractive product pages, but unclear delivery costs, slow filters, and a checkout designed for desktop rather than mobile.
Practical rule: If you can't connect a page to a user task or a business outcome, question whether it belongs in the new site.
The 10 red flags that your website needs a makeover can help identify visible warning signs, but the less obvious costs deserve equal attention.
The costs visitors don't report
Some failures appear in analytics rather than complaints:
- Slow interaction: A visitor waits for a menu, form, filter, or payment button and leaves before completing the task.
- Unclear content: A potential client understands what you do only after opening several pages, then chooses a competitor with a clearer proposition.
- Broken measurement: A form works, but no event records the submission, so the team can't distinguish useful traffic from noise.
- Accumulated technical debt: A page builder, theme, and plugin bundle each add dependencies that future staff must maintain.
The Office for National Statistics recorded that online sales represented 27.6% of all retail sales in Great Britain in August 2024, while online spending was 4.3% higher than in August 2023 (ONS retail sales, August 2024). That national benchmark doesn't predict an individual retailer's results, but it does show why a redesign affects more than appearance. Product discovery, trust signals, delivery information, payment, and mobile purchasing all sit inside the commercial journey.
The right question isn't “How can we make the homepage look newer?” Ask instead, “Where does the current site make customers hesitate, and what will prove that the new version works better?”
Conducting a Thorough Technical and Content Audit
Redesigns go wrong when teams jump from frustration to mockups. The audit stage is where you find the hidden costs that usually get missed, fragile rankings, broken measurement, bloated templates, and content nobody owns but everybody is afraid to remove.
Build a technical baseline
Export GA4 and Google Search Console data before any redesign work starts. Keep records of organic landing pages, branded and non-branded queries, conversions, top entry points, device categories, and the paths people follow before they submit a form or complete checkout. That baseline protects revenue and search visibility during the rebuild, and it gives you something concrete to compare after launch.
Then crawl the live site with Screaming Frog, Sitebulb, or a similar crawler. Save the full URL set, status codes, canonical tags, indexability, title elements, heading structure, image references, internal links, and pagination. Compare that crawl with Search Console data. A crawler shows what the site exposes. Search Console shows how Google handles it. The gap between those two views is often where expensive problems sit.
Performance needs the same discipline. Google defines a passing Core Web Vitals experience as one where at least 75% of visits meet the good threshold for all three metrics, with Largest Contentful Paint of 2.5 seconds or less, Interaction to Next Paint of 200 milliseconds or less, and Cumulative Layout Shift of 0.1 or less (Core Web Vitals and UK performance benchmarks). Those targets matter during a redesign because a visually cleaner site can still become slower if the new build adds heavier templates, larger media, extra scripts, or third-party widgets.
The operational cost shows up after launch. A site that looks better but loads worse usually creates more support work, more QA cycles, and more pressure to patch performance page by page instead of fixing the system properly.
Use both lab and field data. Test representative templates with Lighthouse, then check real-user CrUX and Search Console reporting for the pages that actually matter. Office laptops on fast broadband hide problems that mobile users meet straight away.
Audit content as an inventory
Run the content review like an asset register, not a writing exercise. Give every URL a row in a spreadsheet and record its purpose, owner, status, organic entrances, conversions, backlinks, freshness, audience, and recommended action.
Use a simple decision model:
- Keep: The page still does a clear job and the information is accurate.
- Improve: The topic matters, but the copy, structure, examples, or call to action is underperforming.
- Consolidate: Several pages compete with each other and should become one stronger page.
- Retire: The page has no defensible purpose, or its value can be redirected elsewhere.
Do not stop at HTML pages. Review PDFs, old hero images, duplicate brand assets, embedded forms, calculators, booking tools, and third-party widgets. These are common sources of maintenance overhead, tracking errors, accessibility issues, and performance loss, even when they never appear in a standard sitemap.
For a wider planning checklist, website redesign planning tips are useful alongside your own crawl and analytics exports. Keep the output decision-led. An audit only earns its time if it results in approved redirects, rewritten pages, removed clutter, and a safer migration path.
A technical review should also cover robots directives, XML sitemaps, structured data, internal linking, redirects, staging controls, and template-level metadata. This technical SEO guide is a useful reference for separating foundational issues from cosmetic ones.
Choosing Between a Custom Build or Existing Theme
The cheapest build route isn't always the cheapest website to own. A pre-built theme may reduce initial design and development effort, but its bundled styles, scripts, layouts, and settings can make future changes harder. A custom theme can produce a cleaner system, but it demands better planning and a team capable of supporting the code.
| Approach | Speed | Customization | Cost | Best For |
|---|---|---|---|---|
| Existing theme with configuration | Fastest | Limited to theme options and compatible plugins | Lower initial cost | Small brochure sites with standard content |
| Child theme and controlled extensions | Moderate | Good control over branding and templates | Moderate | Businesses that need a familiar base with tailored behaviour |
| Custom theme or block system | Slower | High control over structure, components, and performance | Higher initial cost | Distinctive brands, complex journeys, and long-term ownership |
| Headless or highly custom WordPress setup | Slowest | Very high, with additional architectural complexity | Highest ongoing commitment | Complex publishing or application-like requirements |
Choose around the riskiest journey
A straightforward service website usually doesn't need an elaborate architecture. It needs clear templates, dependable forms, editable content, and a small plugin footprint. A retailer with WooCommerce, product filters, stock data, payment integrations, and delivery rules has a different risk profile. The build decision should follow the hardest customer task, not the visual preference of the stakeholder who approves the homepage.
Booking systems, membership areas, calculators, multilingual content, CRM integrations, and restricted resources also change the calculation. Ask who owns each integration, how it will be tested, what happens when a plugin is discontinued, and whether staff can update content without breaking the layout.
Avoid false economy
A theme becomes expensive when the team has to override its assumptions everywhere. Developers may add custom CSS to correct spacing, duplicate templates to accommodate one page type, or install more plugins to compensate for missing functionality. Each workaround increases the number of interactions that must be regression-tested.
A custom build has its own trade-off. Poorly documented custom code creates dependency on the original developer, and an over-engineered block library can slow ordinary publishing. Customisation only pays off when the team defines reusable components, coding standards, content rules, and a maintenance process.
Before approving a route, review the WordPress website development cost guide and separate build cost from ownership cost. Include hosting, updates, licence renewals, security monitoring, content production, accessibility checks, analytics maintenance, and future integrations.
A theme is an implementation choice, not a strategy. Choose the smallest system that can support the journeys your customers actually need.
For many Dorset small businesses, a controlled child theme or carefully selected block-based system offers a sensible middle ground. It can retain WordPress's editorial convenience while avoiding the dependency pile-up that often follows indiscriminate plugin installation.
Executing a Zero-Downtime Migration and Launch
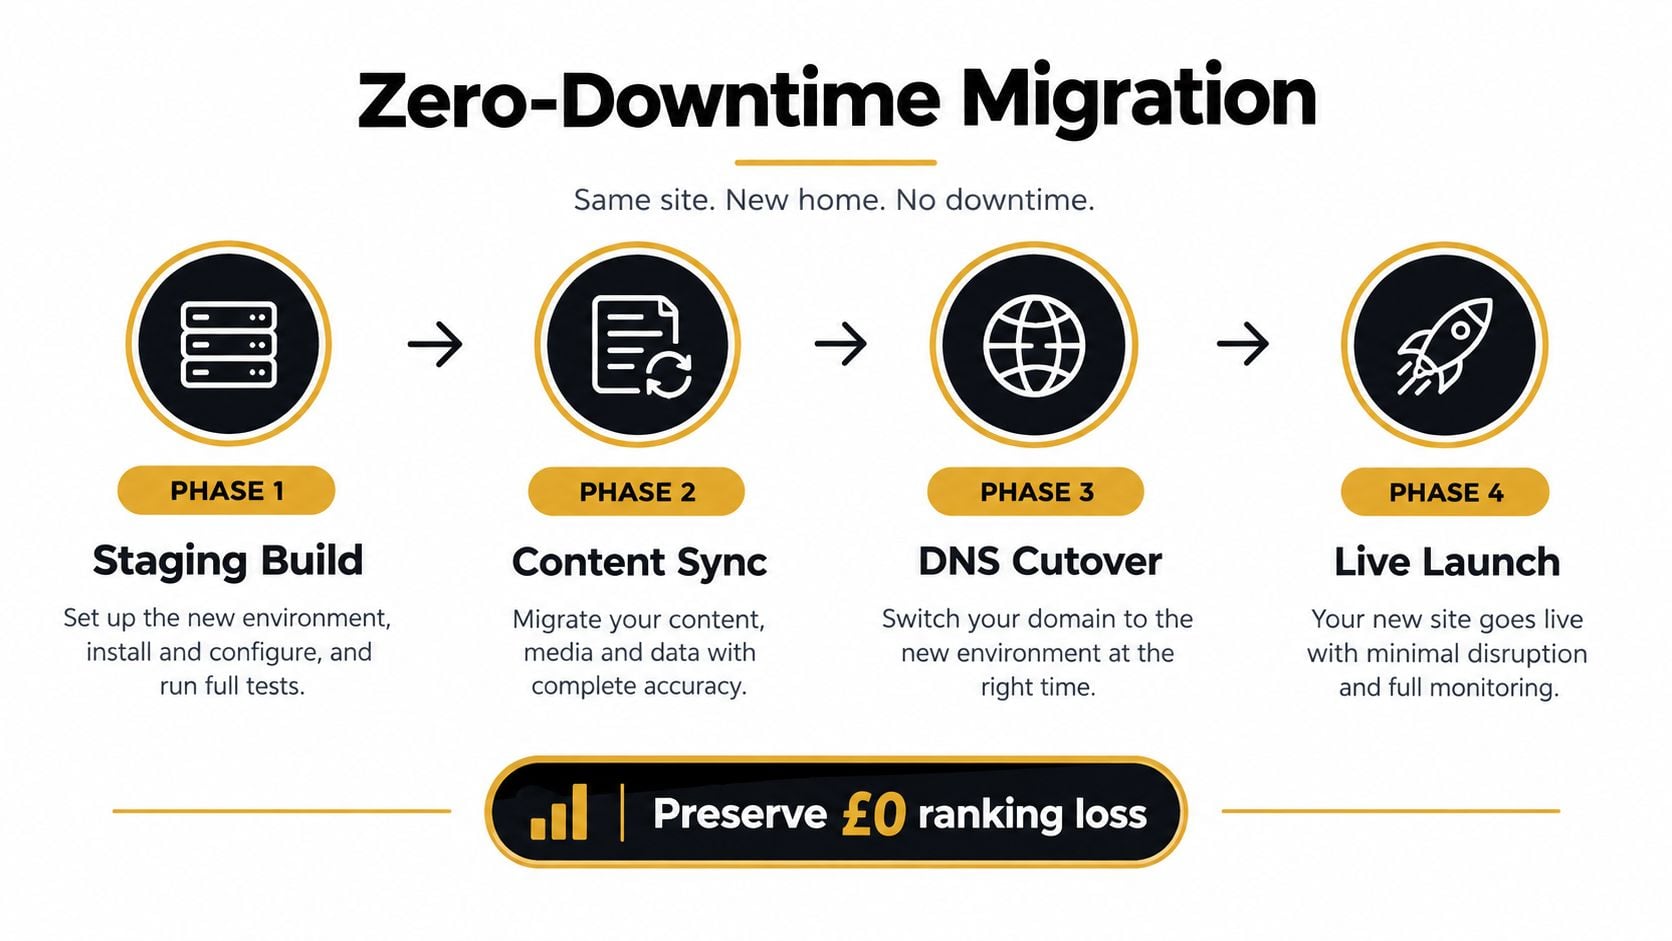
A redesign often fails at launch, not in design review. The hidden cost is operational. Rankings can dip, forms can stop routing, transactions can go missing, and support teams end up patching issues that should have been caught before cutover. Build the new site in staging, keep the live site serving users, and treat launch as a release with clear ownership, rollback steps, and checks for SEO, UX, and data integrity.
Prepare the release
Start with a URL-by-URL redirect map before changing templates or permalinks. Map each old URL to the closest new destination, including pages that no longer sit in main navigation. Sending retired pages to the homepage creates a poor user journey and weakens relevance signals for search engines.
The staging build needs more than a visual check. It should include a controlled copy of the site, with staging blocked from search engines and unintended visitors, while production is the only environment where indexing controls are lifted. Migrate content and media carefully. Check image paths, captions, file downloads, embeds, author details, and publication dates, because small publishing errors often create support work later.
Then test the parts that affect revenue and trust. Submit every form. Confirm messages appear. Verify email routing. Complete the full purchase or booking journey. Compare titles, canonicals, headings, structured data, internal links, XML sitemap output, and robots directives against the approved setup. Test performance on real mobile devices across the homepage, service or category templates, product pages, posts, search results, forms, and checkout. That is where hidden rebuild costs usually show up.
Use this website migration SEO checklist alongside the redirect map, but keep one release owner responsible for sign-off. Checklists help. Accountability prevents vague handovers.
Before cutover, freeze or log changes made on the live site. This matters for shops, blogs, memberships, and booking systems where orders, records, or content can change during deployment. Decide in advance how those live changes will be reconciled. A staging database is rarely current by accident.
Switch carefully and monitor
Launch when the people who can fix problems are available. Keep the old site ready as a rollback option, take verified backups, and confirm analytics and conversion events on the live domain as soon as DNS and application changes settle. Then test a sample of old URLs, new URLs, forms, payments, navigation, search, cookie consent, and mobile layouts.
Monitor Search Console, GA4, server logs, error reporting, and customer messages closely after launch. Watch for spikes in not-found responses, drops in organic landing pages, missing events, slow templates, and failed payments. In practice, the first month is where migration mistakes surface, especially redirect gaps, broken integrations, and template-specific performance regressions.
A reliable deployment assumes something may fail. The job is to make failures visible, reversible, and assigned to someone who can fix them fast.
Ensuring Accessibility and Post-Launch Compliance
Analysts found detectable WCAG failures on 94.8% of one million home pages, with low-contrast text among the recurring issues (Web accessibility analysis for UK businesses). For a WordPress redesign, that matters less as a headline than as a cost signal. Accessibility defects rarely stay isolated. They spill into support queries, lower conversion on key journeys, create rework for editors, and force expensive fixes after templates, plugins, and content patterns are already live.

Design for real tasks
Accessibility starts in the system, not in a final QA pass. Audit the templates and shared components first, then define heading structure, landmarks, link states, keyboard focus, form labels, validation messages, alternative text rules, and responsive reflow before development locks those decisions in. Hidden operational cost shows up. If the design system leaves these details vague, every editor, developer, and plugin update becomes another chance to break them.
WordPress adds its own pressure points. Menus, accordions, pop-ups, filters, cookie banners, predictive search, and WooCommerce checkout often look fine in demos while failing on keyboard access, screen reader flow, or error recovery in live use.
Use automated checks such as axe or Lighthouse to catch regressions quickly, then test the journeys that make money or generate leads by hand:
- Keyboard navigation: complete core tasks without a mouse, and confirm focus stays visible and follows a sensible order.
- Screen readers: use NVDA or VoiceOver to move through headings, landmarks, forms, errors, dialogs, and checkout steps.
- Zoom and reflow: test at 200% zoom and confirm content remains usable without hidden controls or forced horizontal scrolling.
- Real users: include disabled users in testing where possible, because conformance alone does not reveal every usability barrier.
For implementation detail, this guide to making a website accessible is a useful reference. The harder part is keeping those standards intact once the site is in daily use.
Make quality survive future edits
The EU's European Accessibility Act applies from 28 June 2025 to covered products and services sold into EU markets, while UK-only businesses are instead governed by the Equality Act 2010 and, where relevant, public-sector accessibility regulations. Scope still depends on the organisation, service, and operating model, so small businesses should not assume the same obligations apply in every case.
Post-launch compliance needs ownership. Keep an accessibility statement, audit log, remediation owner, and release gate. Train content authors to use real headings, descriptive link text, meaningful image alternatives, and status messages that do not rely on colour alone. Review plugins and third-party widgets as well, because an accessible theme cannot fix inaccessible code loaded from outside it.
A sustainable WordPress redesign includes an accessible component library, editor guidance, automated checks, manual acceptance criteria, and recurring reviews. DesignStack is one Dorset-based option for businesses seeking WordPress redesign, responsive implementation, SEO support, and post-launch website assistance. Whichever partner you use, assign named ownership after launch. Accessibility, performance, redirects, analytics, and security all need active maintenance.