
Trailer Parts Direct: UK’s Best Sourcing Guide 2026
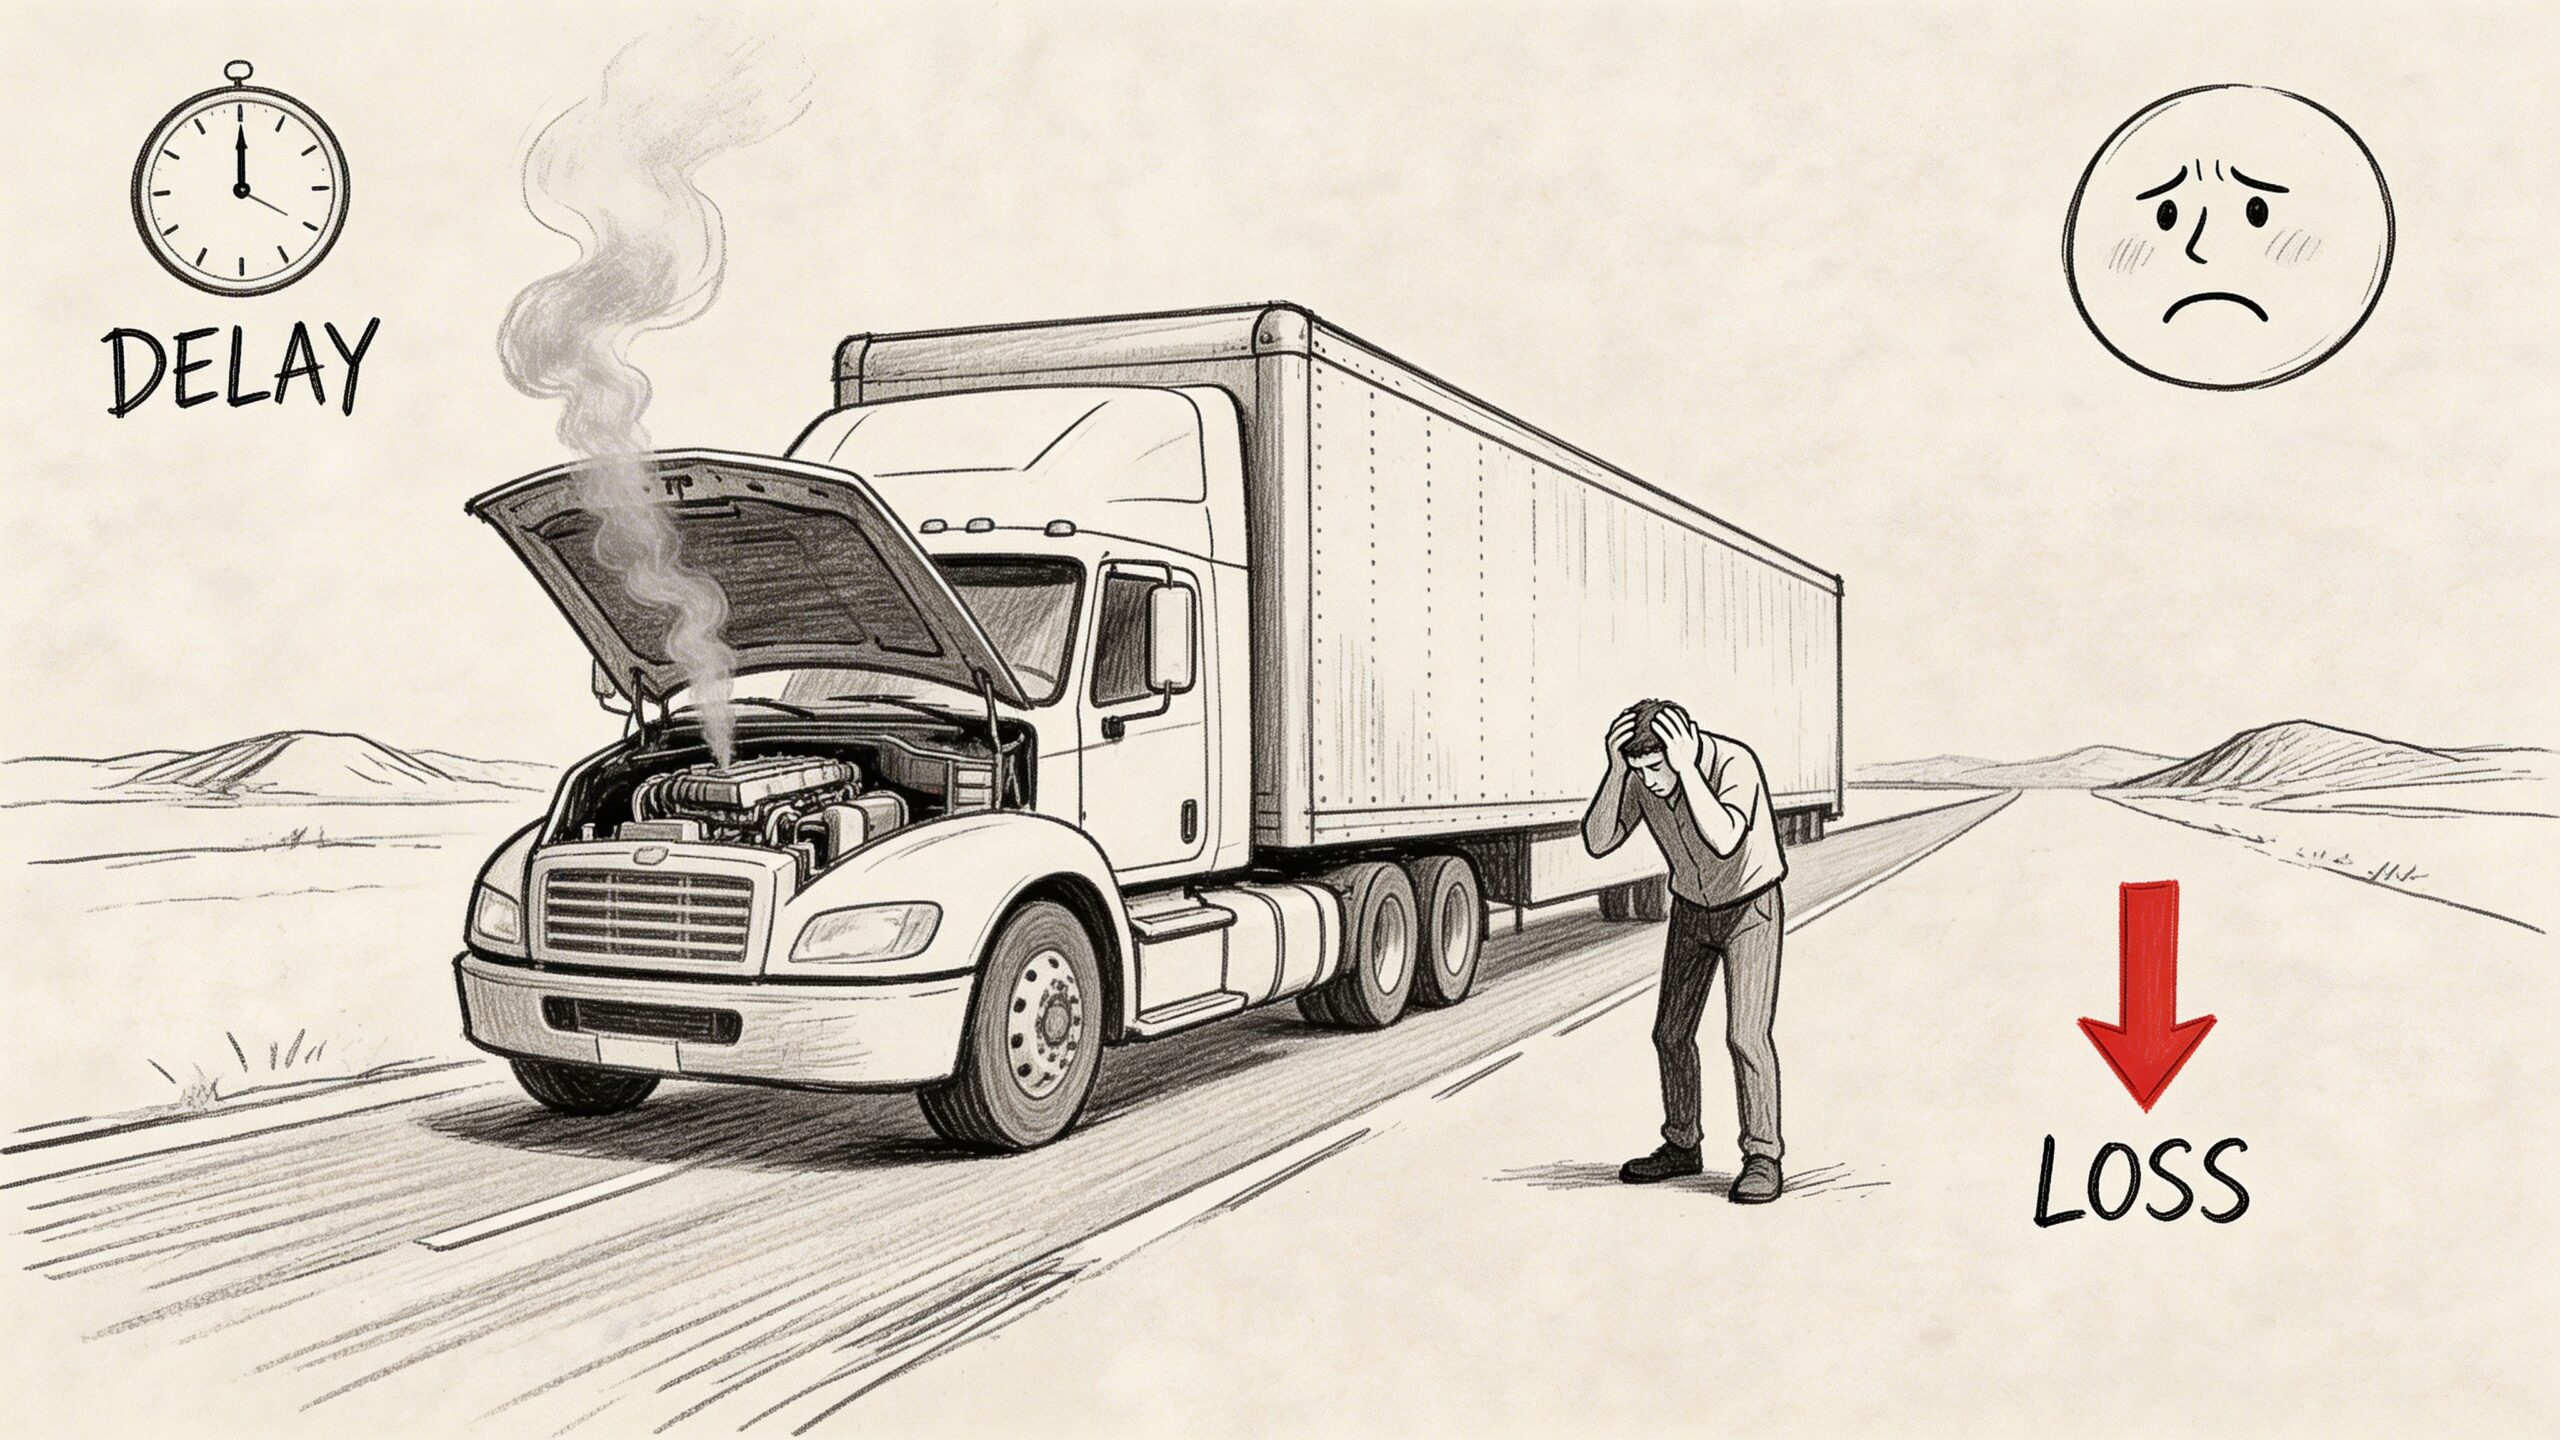
A trailer rarely fails when it’s convenient. It fails on the morning you’ve promised a delivery slot, booked a team, loaded expensive kit, and told the customer you’ll be there before lunch.
That’s why buying trailer parts direct isn’t just a procurement task for UK businesses. It’s part of keeping work moving. If you run a landscaping firm, plant hire outfit, builder’s merchant, event supplier, boatyard, or local delivery operation, your trailer sits right in the middle of cash flow, customer service, and safety.
Most owners don’t need more generic advice copied from US forums. They need practical guidance that fits British roads, British weather, British rules, and the need to get a trailer back into service fast without buying the wrong part.
Your Trailer Is Your Business Lifeline
Monday, 6:30am. The trailer is loaded, the driver is ready, and the first job is booked. Then a rear lamp fails, the plug connection cuts in and out, or a bearing starts rumbling on the way out of the yard. For a small UK business, that single fault can tie up the trailer, the towing vehicle, the day’s labour, and the customer booking attached to it.
I see the same mistake again and again. Owners treat the trailer as a low-priority asset until one failed part stops paid work. Then the pressure lands all at once. Is the fault isolated or a sign of wear elsewhere? Is the replacement suitable for UK road use? Can you get the right part fast enough to avoid losing the rest of the week?
UK operators also deal with problems many generic guides skip over. DVSA expectations are not optional, especially if the trailer is used hard and inspected after an incident. British weather is hard on electrics, fixings, brake components, and unprotected steel. Road salt, standing water, and months of damp storage will finish off a cheap part long before the product photo suggests.
Small faults cause expensive disruption.
A worn brake shoe, cracked lamp unit, tired coupling head, corroded connector, or bent mudguard bracket may not look dramatic in the yard. Under load, in rain, or on a long A-road run, those faults become recovery jobs, missed delivery slots, or defects that should never have left site in the first place.
Feedback from UK operators often highlights that advice copied from US forums misses the details that matter here. Plug types differ. Lighting expectations differ. Legal assumptions differ. Even material choice changes when a trailer spends half the year wet and often sits outside on aggregate, mud, or salted concrete.
A trailer should be managed the same way as any other revenue-earning equipment. If it carries diggers, tools, stock, event kit, boats, or machinery, it affects service quality as directly as the van or the driver. Businesses shown in projects such as plant hire operations that depend on reliable transport demonstrate this. If the trailer is down, the job is at risk.
Buying trailer parts direct gives owners more control where it counts:
- Availability: You can check whether the part is in stock before committing the job plan.
- Specification: You can compare dimensions, load ratings, fixings, and compatibility instead of ordering on guesswork.
- Speed: Common service items can be sourced faster, which matters when the trailer earns its keep every day.
- Cost control: Money goes into the right parts, not into a shelf full of spares that never fit.
The cheapest option often costs more by the second order, the extra labour, or the failed inspection. Good sourcing keeps the trailer legal, safe, and earning.
Navigating the World of Trailer Parts
Most ordering mistakes happen because owners look at a trailer as one object instead of a set of connected systems. A better way to think about it is as a body. Every area has a job, and when one part fails, another usually suffers next.
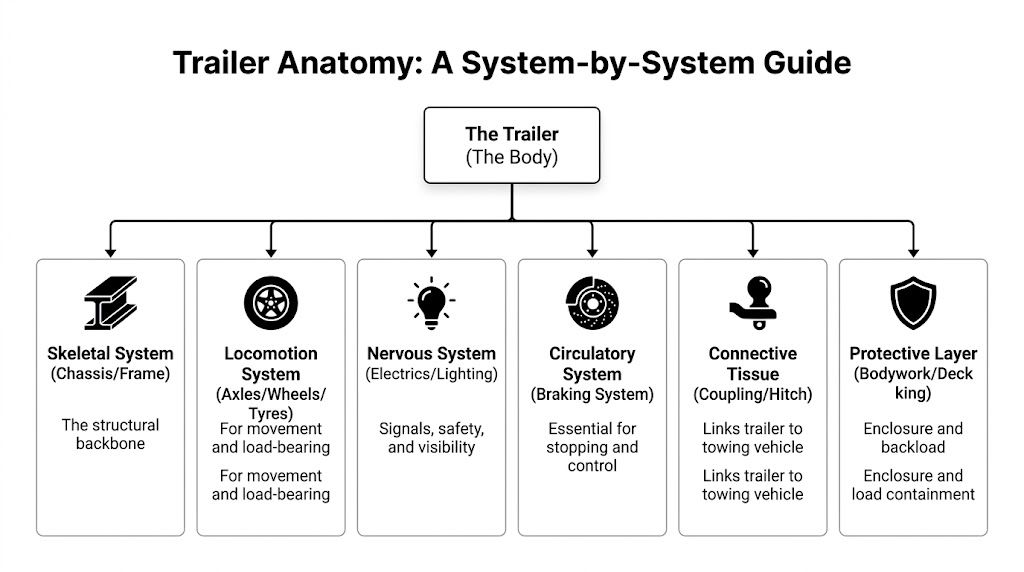
The skeletal system
The chassis and frame carry the load and hold the rest of the trailer together. If the frame is twisted, cracked, heavily corroded, or poorly repaired, every other component starts working under bad conditions.
Look closely at:
- Drawbar sections
- Cross-members
- Spring hangers and mounting points
- Deck supports
- Mudguard brackets
A frame issue can mimic other faults. Uneven tyre wear, poor tracking, and repeat suspension problems often trace back to alignment or structural fatigue rather than a bad wheel alone.
The nervous system
The lighting and electrical system tells everyone around you what the trailer is doing. It also keeps the trailer visible in poor weather, on dark roads, and in busy yard conditions.
This includes side markers, rear lamps, number plate lights, reflectors, plugs, sockets, looms, junction boxes, and earth points.
What works in dry climates often struggles here. UK roads throw water, grit, and road salt at connectors for months on end. That means the problem isn’t always the lamp. It may be a corroded earth, a damaged cable run, or water ingress at a plug.
A lamp that works intermittently is usually an electrical path problem first, not a bulb problem first.
The circulatory system
The braking system does the dangerous work. On a trailer, that usually means brake drums, shoes, cables, compensators, linkages, hubs, and related running gear.
If one part in that chain is worn or badly adjusted, stopping performance changes quickly. That’s why guessing with brake components is a bad habit. Similar-looking parts often aren’t interchangeable in any safe sense.
The UK angle matters here. Trailer parts must suit the trailer’s intended use and roadworthiness obligations under the Road Vehicles (Construction and Use) Regulations 1986, which is one reason buyers need to check far more than appearance when sourcing replacements.
The locomotion system
The axles, wheels, hubs, bearings, and tyres carry weight and absorb punishment from the road. This is also the area where many online buyers make the most expensive mistakes.
Common failures include:
- ordering the wrong hub or bearing set
- confusing wheel fitment patterns
- replacing a tyre by size while ignoring load suitability
- buying an axle without checking mounting points and brake compatibility
Some operators are also looking harder at suspension upgrades. Interest in torsion axles has grown because buyers want smoother running and better shock absorption, but fitment and approval questions still need careful checking in the UK market rather than relying on broad overseas advice.
The connection point
The coupling or hitch assembly links your trailer to the towing vehicle. If this area is worn, loose, cracked, or poorly matched, every journey starts with risk.
Check the coupling head, breakaway cable arrangement, jockey wheel bracket, safety chain points where applicable, and fastening hardware. Wear here often builds gradually, so many owners get used to movement that shouldn’t be there.
The protective layer
Bodywork, decking, ramps, side panels, catches, and load restraint points aren’t cosmetic details. They keep loads contained and make the trailer usable day after day.
A rotten floor or bent ramp can damage cargo, slow loading, and create secondary stress elsewhere on the trailer.
Once you start seeing the trailer by systems, parts buying gets much easier. You stop searching for “a brake bit” or “a wheel thing” and start identifying the exact assembly that’s responsible for the fault.
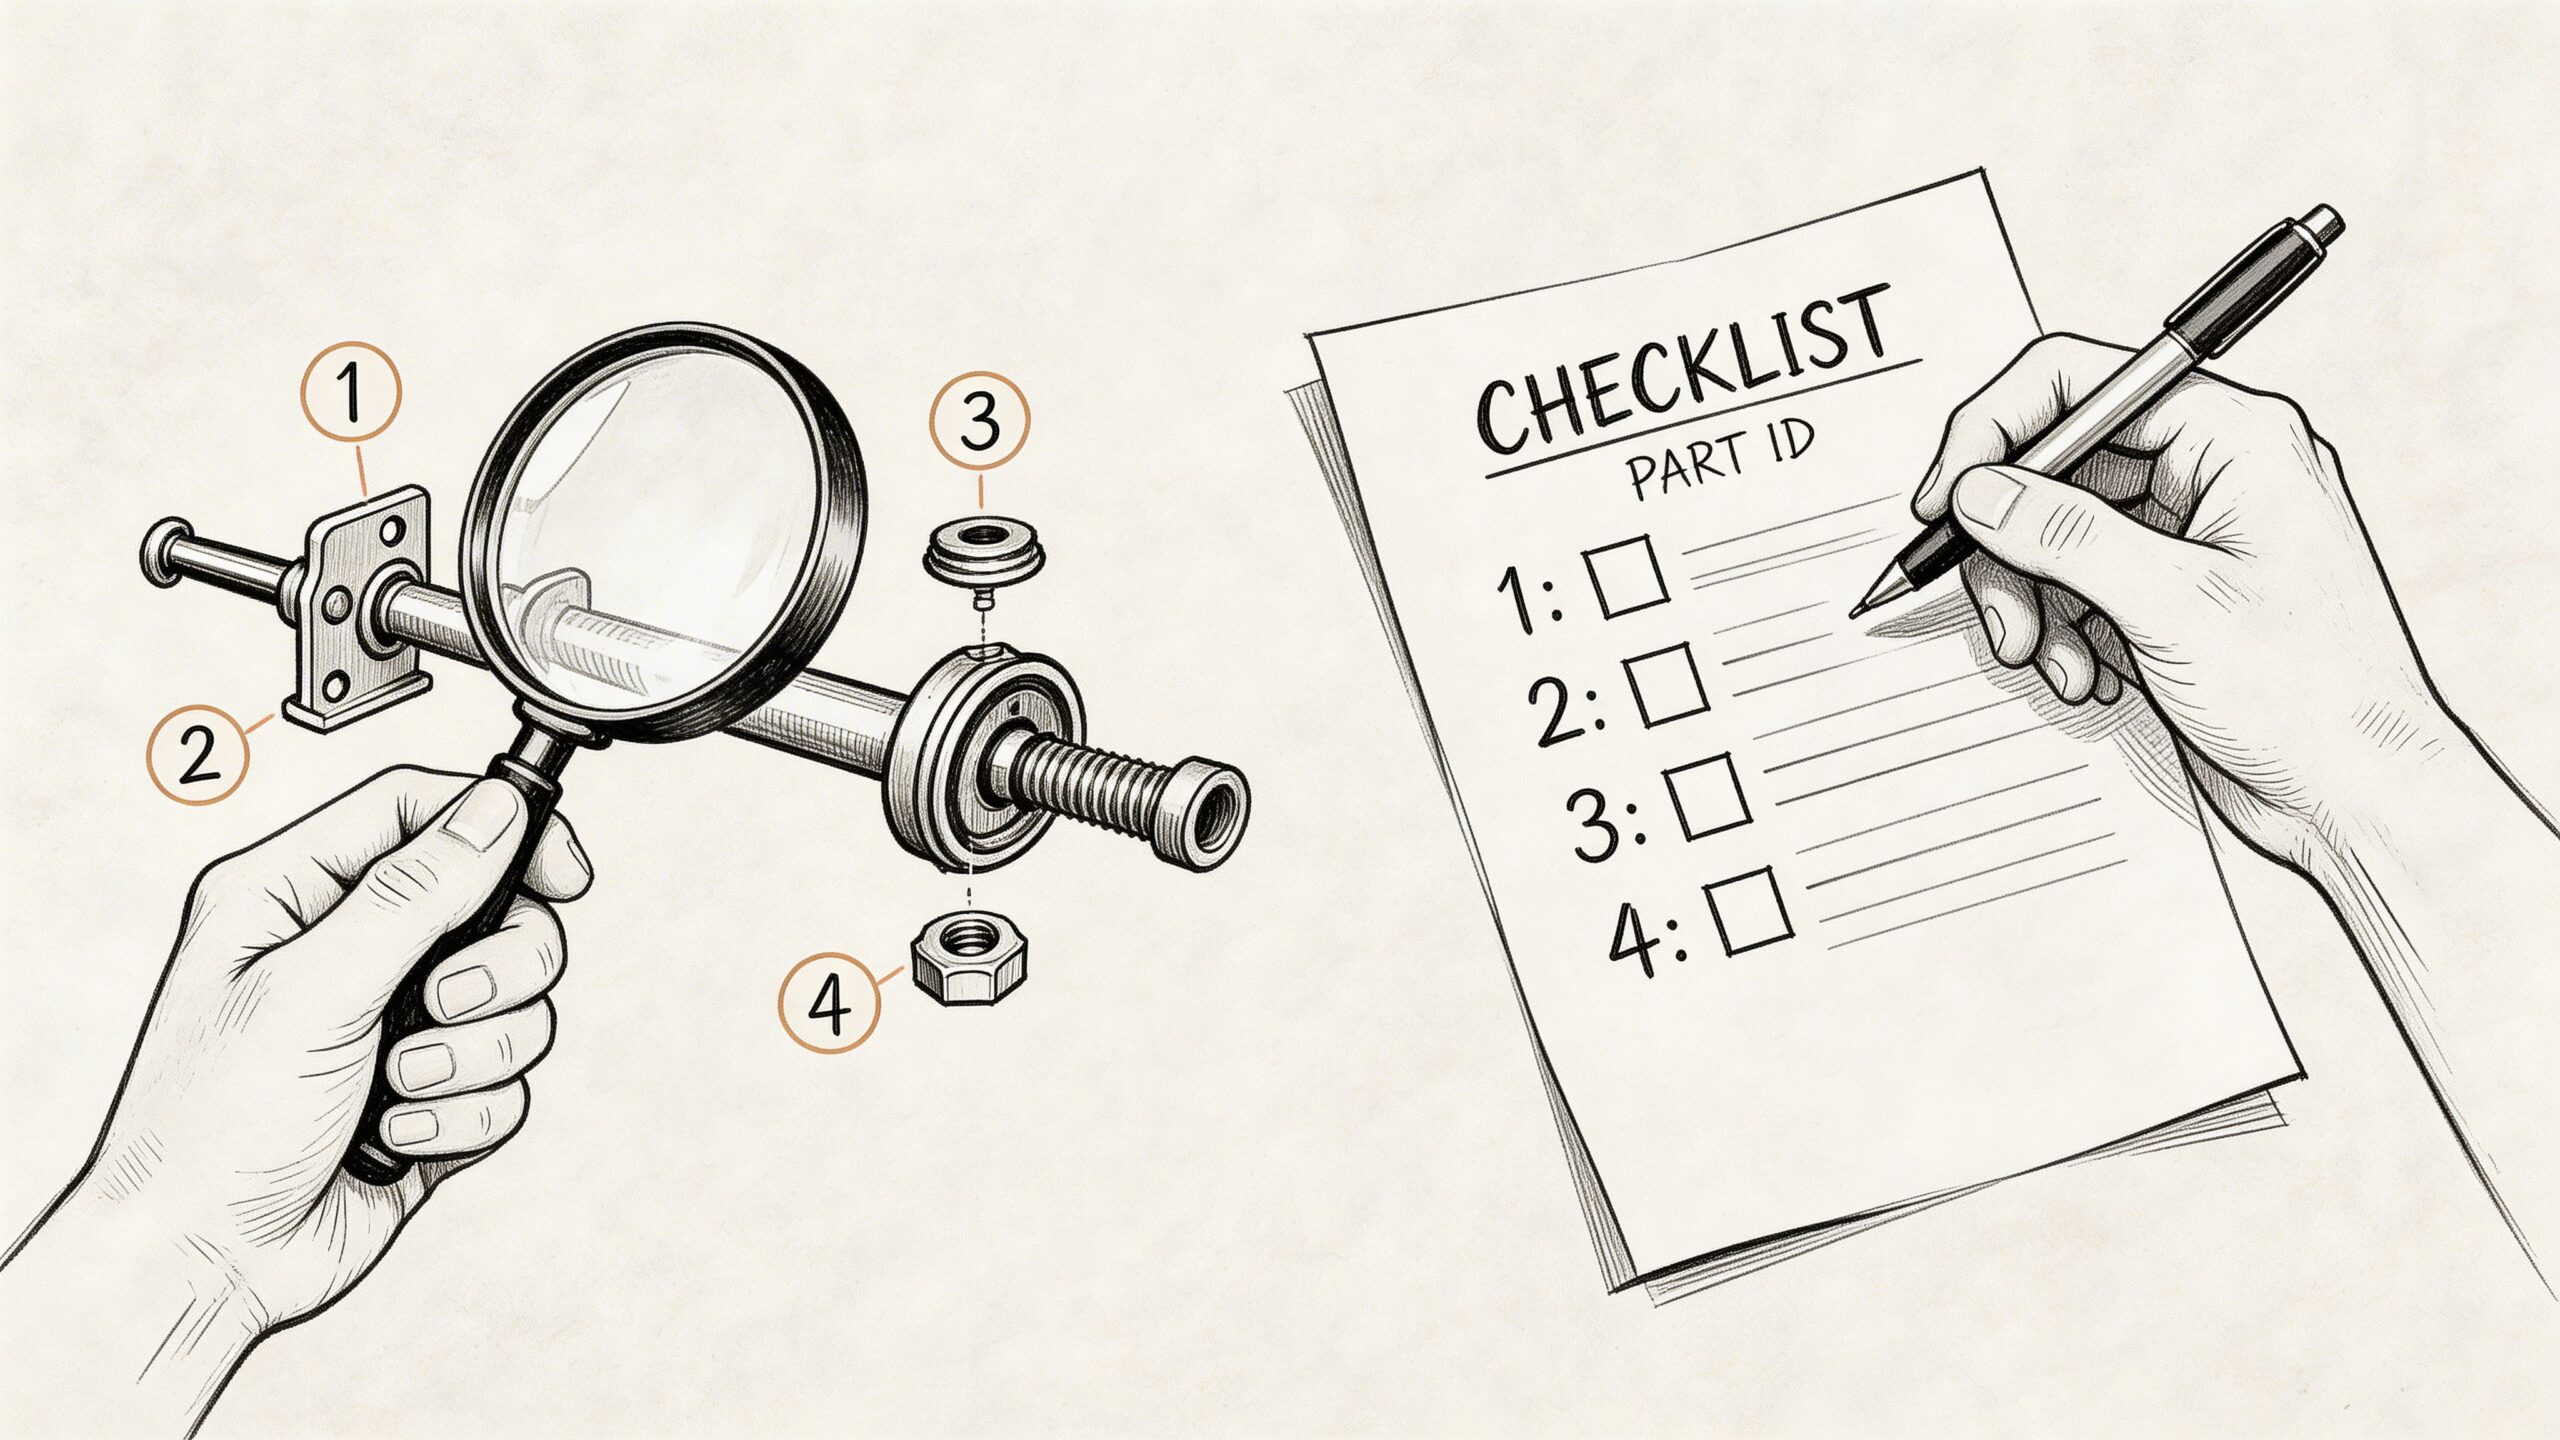
The Actionable Part Identification Checklist
Most wrong orders happen before the basket stage. They happen in the yard, with a rough guess, a blurry photo, and the hope that “it looks about right” will be enough. It won’t.
The fix is a repeatable inspection routine. Use it every time.
What to gather before you start
Keep these with you:
- Tape measure: For axle widths, bracket spacing, and overall dimensions.
- Vernier caliper: Better for studs, shafts, bearing surfaces, and smaller fittings.
- Torch: Dirt hides markings.
- Phone camera: Photograph labels, damaged areas, and mounting points.
- Wire brush or rag: Many stamped numbers are unreadable until cleaned.
- Notebook or job sheet: Write measurements down immediately.
If you manage more than one trailer, record the trailer registration or internal fleet ID first. Parts get mixed up when workshop notes don’t clearly state which unit they belong to.
Use this order of checks
Don’t begin with the website search bar. Begin on the trailer itself.
Identify the trailer type
Boat trailer, plant trailer, tipper, goods trailer, livestock trailer, car transporter, or general utility trailer. The duty changes the likely specification.Find any existing plate or stamped identifier
Look on the axle, coupling, brake assembly, hub, wheel rim, and lighting units.Take photographs before removal
Front, rear, side, close-up, and mounting points. This helps when the removed part is on the bench and no longer obvious in orientation.Measure first, compare second
Catalogue photos help, but dimensions settle the question.Check both sides if relevant
Brake wear, cable routing, lamp fitment, and hardware often differ from one side to the other on older trailers after previous repairs.
Quick Identification Checklist for Common Trailer Parts
| Component | Key Measurement/Identifier | Where to Find It |
|---|---|---|
| Axle | Hub face to hub face, bracket spacing, mounting type | Measure across axle assembly and check mounting points |
| Wheel | PCD, stud count, rim size | Wheel face, stud pattern, rim markings |
| Tyre | Size and load rating from sidewall code | Tyre sidewall |
| Brake parts | Assembly shape, drum size, cable attachment, stamped numbers if present | Backplate, drum, linkage, removed part |
| Coupling | Coupling type, fixing pattern, stamped ID plate or casting marks | Coupling head and mounting face |
| Lights | Lens marking, shape, fixing centres, connector type | Lamp body, lens, rear housing |
| Bearings | Bearing reference numbers, inner and outer dimensions | Existing bearing or hub strip-down |
| Leaf spring | Eye-to-eye length, width, number of leaves, bush size | Removed spring or under trailer at mounting points |
Measuring the axle properly
Axles cause more confusion than almost any other trailer component.
Measure hub face to hub face. That’s the distance across the axle from the wheel mounting face on one side to the wheel mounting face on the other. Then measure the spacing of the spring seats or mounting brackets.
Don’t rely on the total width of the trailer body. That tells you very little about the axle you need.
If you’re replacing a bent or damaged axle, also note:
- whether it’s braked or unbraked
- the style of mounting
- wheel stud pattern
- existing tyre size
- suspension type
Later in the buying process, those details stop you pairing a correct-width axle with the wrong running gear.
Identifying wheel fitment
Wheel compatibility isn’t just “same number of studs”. You need the Pitch Circle Diameter, usually shortened to PCD.
For an even stud pattern, measure from the centre of one stud to the centre of the opposite stud. For other patterns, use a proper PCD method rather than guessing from visual similarity. If the trailer has replacement wheels from a previous owner, verify every wheel on the trailer rather than assuming they match.
Read all rim markings you can find. Dirt and paint often hide useful information. A quick clean usually reveals more than another ten minutes searching online.
Workshop habit: If the old wheel has been modified, elongated, or poorly seated, stop and inspect the hub as well. A new wheel won’t fix a damaged mounting surface.
Reading the tyre sidewall
The tyre tells you a lot if you read the sidewall properly.
Look for the tyre size code and any visible load-related marking on the sidewall. Record the full line exactly as shown. Don’t trust memory. One digit wrong is enough to order the wrong replacement.
Also inspect:
- Tread wear pattern: Can point to alignment or suspension issues.
- Sidewall cracking: Common on trailers that stand unused.
- Ageing and flat spotting: Often more relevant than remaining tread on low-mileage trailers.
- Mixed tyres on one axle: Usually a sign to slow down and inspect the whole setup.
Brake and coupling checks you can do visually
Brake assemblies often need a strip-down for certainty, but your first check can still narrow things down. Note the drum size, linkage arrangement, cable entry point, and shape of the backplate assembly.
With couplings, check:
- handle style
- mounting bolt pattern
- overrun housing design if fitted
- visible casting or stamped references
- signs of wear around the hitch point
This walkthrough is useful if you want a visual refresher before measuring:
The mistake that wastes the most time
Owners often order based on the failed part alone. A better approach is to inspect the linked parts around it.
If a bearing has failed, inspect the hub. If a lamp housing is broken, inspect the connector and loom. If a spring is tired, inspect the shackle bushes and mounting brackets. Direct sourcing works best when you build one accurate order, not three rushed ones.
Ensuring Quality and UK Road Safety Compliance
A trailer can look serviceable in the yard and still fail you on the road. I’ve seen cheap replacement parts hold up just long enough to get a load booked in, then trigger a brake issue, lighting fault, or roadside attention that costs far more than the original saving.
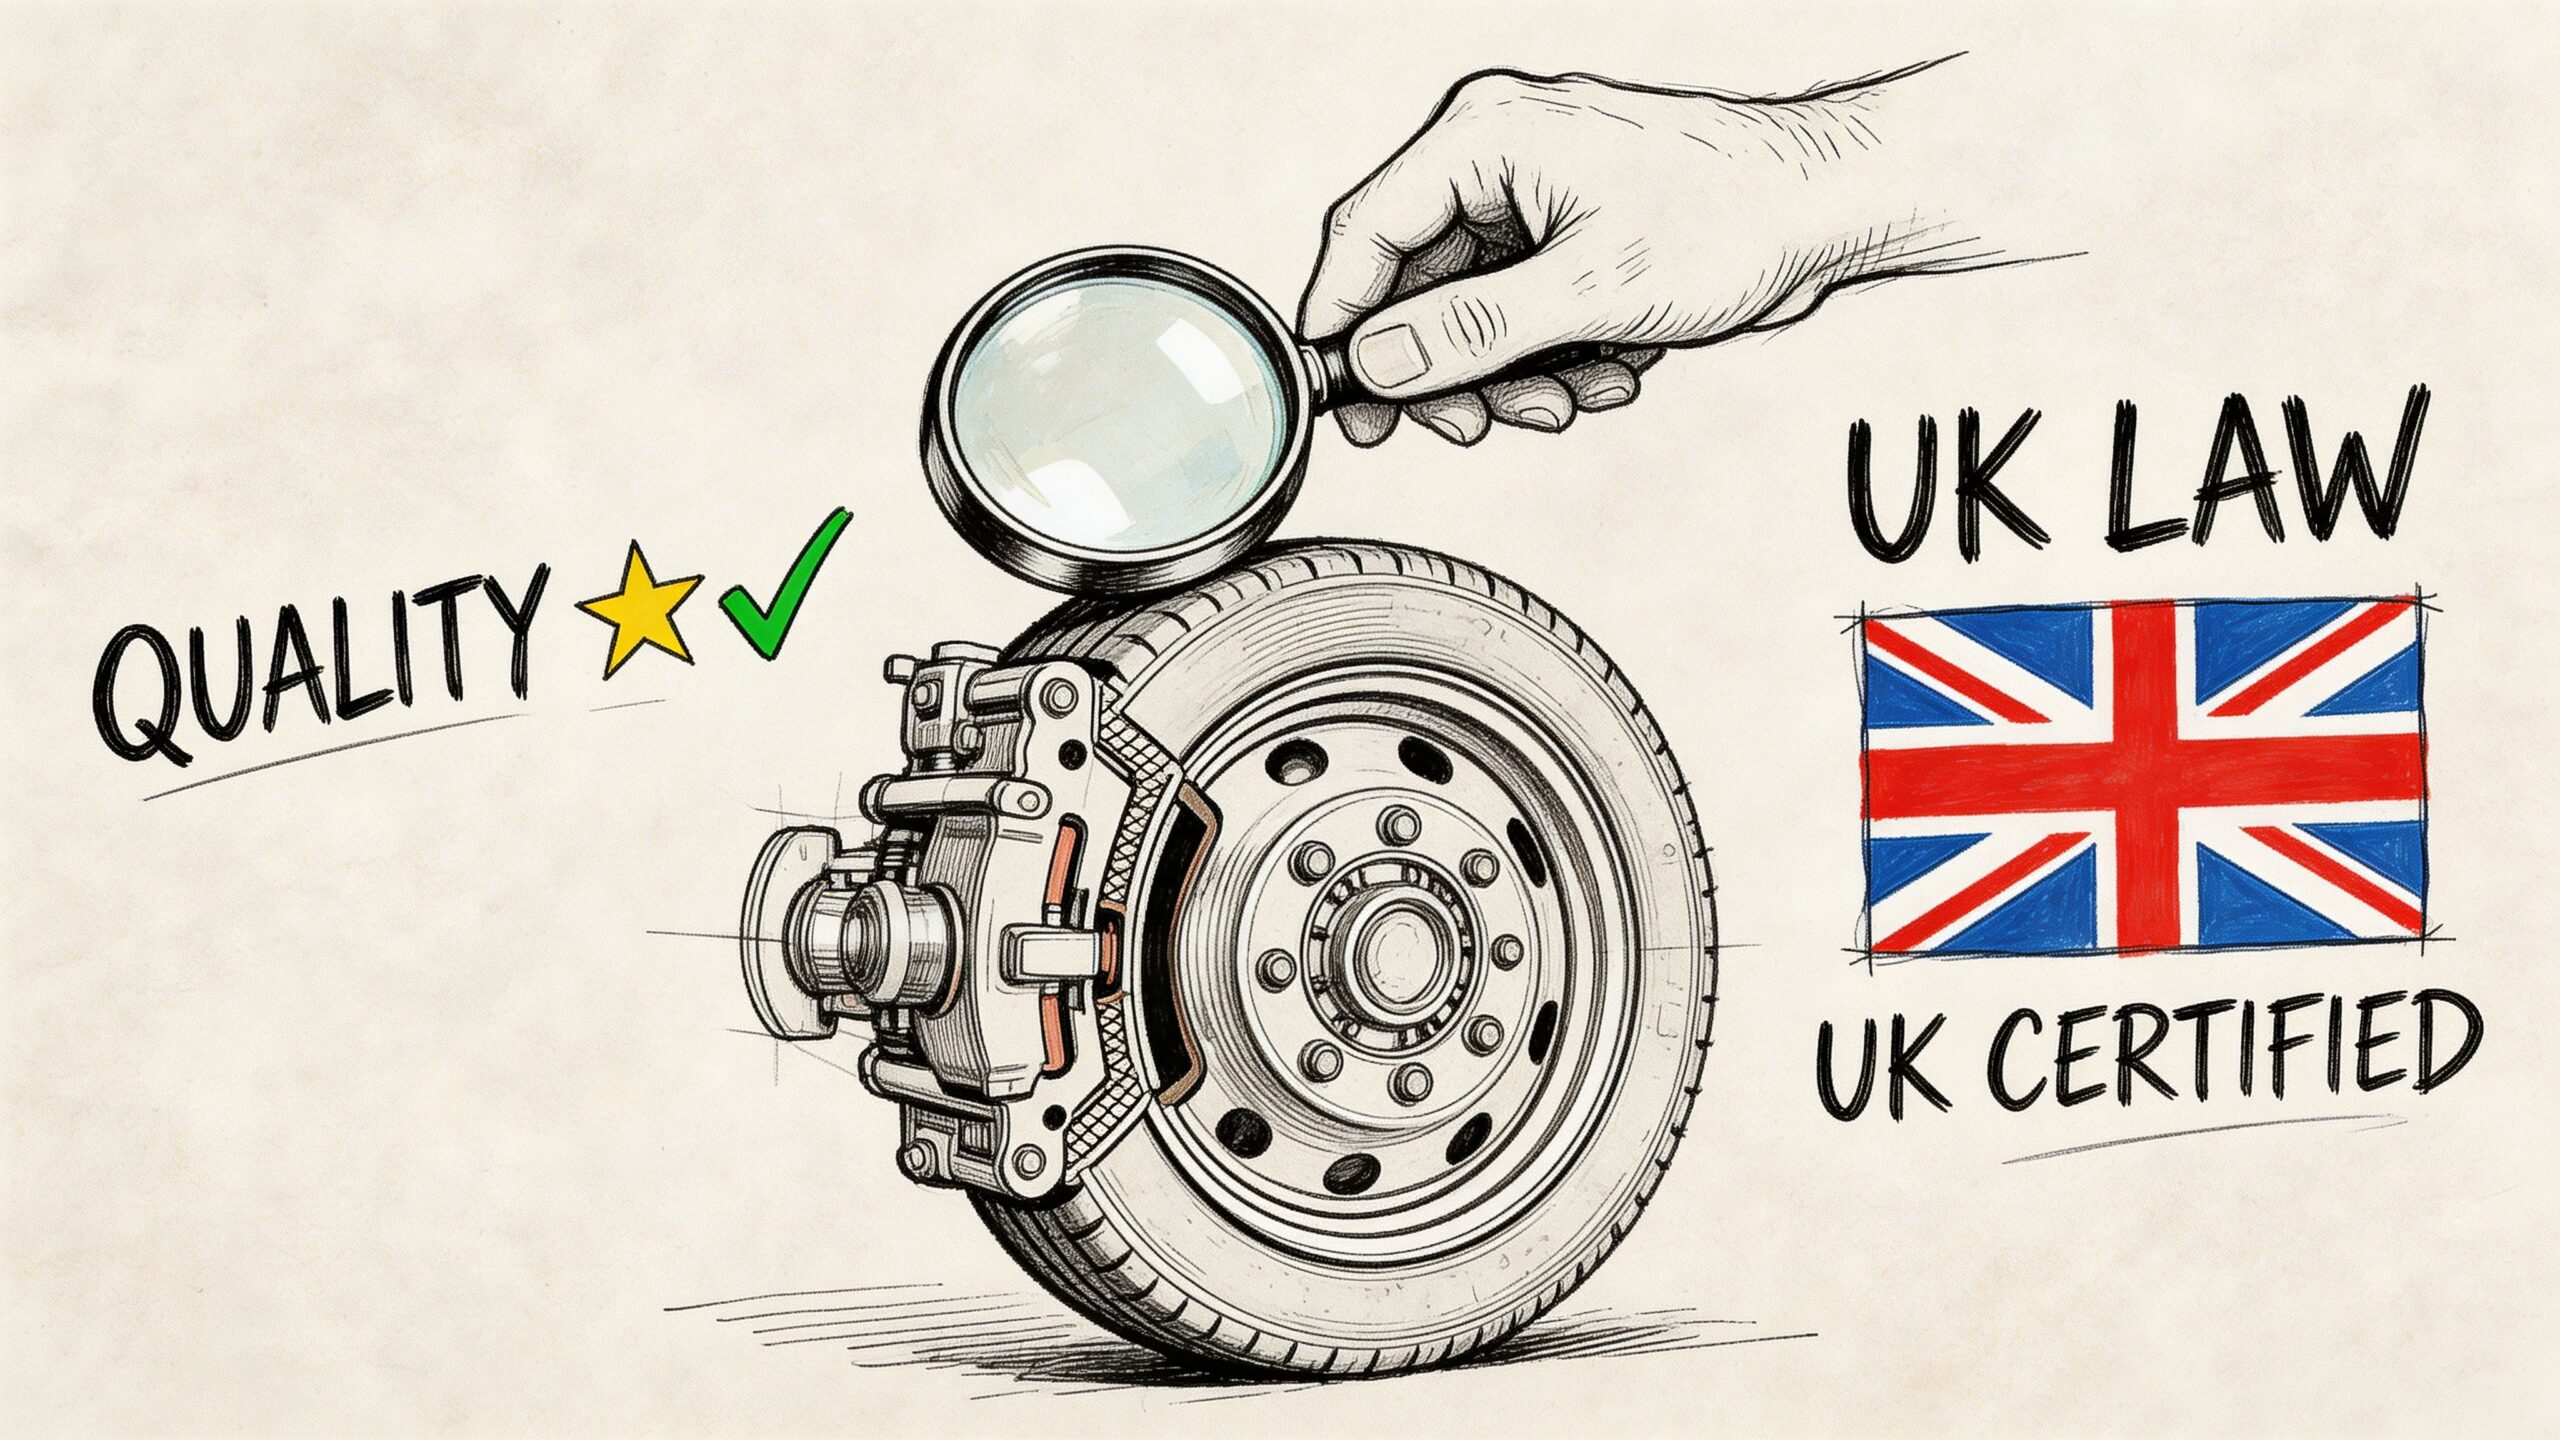
Why UK buyers need a stricter filter
A lot of online advice is written around US part ranges, US approval assumptions, and US operating conditions. That creates problems for British operators because a part that is common in an American listing is not automatically suitable for UK use, inspection standards, or typical weather exposure.
That gap shows up most often with imported running gear, mounts, and structural hardware. One source summary states that 2025 UK trailer import seizures rose 28% due to non-compliant axles and mounts, with risks including £2,500 fines and vehicle impoundment for small businesses (source summary linked from this undercarriage angle product reference). If you rely on a trailer to keep jobs moving, that is a business interruption problem, not just a parts problem.
For UK operators, the standard is simple. The part needs to fit, do the job properly, and stand up to scrutiny if DVSA, your workshop, or your insurer starts asking questions.
The compliance point buyers often skip
Physical fit is only the first test. Safety critical parts also need to be suitable for the trailer’s actual duty, weight, braking setup, and road use.
Pay close attention to:
- braking components
- lighting units
- axles and suspension parts
- couplings and mounting hardware
- load-bearing structural parts
A cheap imported component can bolt on and still leave you exposed. If the supplier cannot explain load rating, compatibility, or intended application in plain terms, treat that as a warning.
For businesses weighing branded parts against pattern alternatives, this guide to OEM vs aftermarket parts is a useful comparison. In practice, the right choice depends on the part. On some items, aftermarket is perfectly sensible. On braking, coupling, and structural parts, I’m far less willing to gamble unless the specification is clear and the supplier can back it up.
UK weather changes what counts as a good part
British trailers live hard lives. Standing water, salted roads, damp storage, and coastal air all shorten the life of poor finishes and badly chosen metals.
That is why material choice should be checked with the same care as fitment. The same source summary says that aluminium erodes 15% faster in coastal areas like Weymouth (citing a 2025 British Marine Federation report within the source summary). For firms near the coast, especially marine trades and outdoor storage sites, galvanised steel often gives better long-term value on exposed parts, though it comes with weight and finish trade-offs.
That trade-off matters. Aluminium can still be the right call where weight reduction matters and corrosion is managed properly. Galvanised components often tolerate road filth and neglect better, especially underneath the trailer where spray, chips, and trapped moisture do the damage.
If you want an example of how UK fabrication choices and finish quality affect durability in practice, this custom vehicle fabrication portfolio is worth a look.co.uk/portfolio/kwicksilver-kustoms/) is worth a look.
Cheap buying usually fails in the same three places
First, the part is wrong.
Second, it wears out early or corrodes faster than expected.
Third, it creates a compliance headache because nobody can clearly confirm what it was designed to do.
By that stage, the low price has already disappeared. You pay again in labour, missed use, return hassle, and extra delivery charges. For a working trailer, total cost matters more than checkout cost.
A practical compliance filter before you order
Use this before buying any safety-related trailer part online:
Is the part described for the trailer’s exact use case?
“Universal” usually means the checks are now your job.Can the seller confirm rating, dimensions, and compatibility?
A copied product title is not technical support.Is there clear information on braking, load path, or structural duty where relevant?
If that answer is vague, stop there.Does the material make sense for UK weather and storage conditions?
Coastal and winter-road operators should be tougher on this point.Would the choice stand up under workshop inspection or a DVSA roadside check?
If you would struggle to defend it, do not fit it.
Road safety is operational discipline. Businesses that buy parts with that mindset usually avoid the second order, the rushed workshop fix, and the downtime that hurts profit most.
How to Evaluate Trailer Part Suppliers
A trailer goes down on Tuesday afternoon. The job still has to move on Wednesday morning. That is the moment you find out whether a supplier is any good.
For a UK business, supplier quality shows up in three places. Can they help you identify the right part quickly. Can they get it to you when they say they will. Can they give you enough technical detail that you are comfortable fitting it to a road-going trailer that may face a DVSA stop, winter salt, and weeks outside in the rain.
Judge the supplier by how much uncertainty they remove
Cheap listings often win on first glance because the photos look similar and the part name sounds close enough. In practice, the better supplier is usually the one that reduces the number of things your workshop has to guess.
Use a table like this when comparing sellers:
| What to check | Strong supplier | Weak supplier |
|---|---|---|
| Fitment detail | Part numbers, dimensions, ratings, and clear compatibility notes | Generic title, little or no measurement data |
| Stock position | Current availability shown clearly | No stock status or unclear wording |
| Delivery promise | Realistic dispatch and delivery information | Fast claims with no detail behind them |
| Technical support | Answers from someone who understands trailer applications in the UK | Copy-pasted replies that avoid specifics |
| Returns handling | Clear terms for incorrect unused parts | Hard-to-find policy or vague exclusions |
| Safety-critical information | Load, brake, electrical, or coupling details where relevant | Marketing copy with no engineering detail |
That last row matters more in Britain than many generic guides admit. If a supplier cannot explain ratings, approvals, or intended use for a braking or coupling component, the risk sits with you.
Delivery speed matters, but accuracy matters more
A fast courier does not rescue a bad order.
I have seen firms lose two days because they chased next-day delivery on a part that was only "close enough" on screen. Then the trailer is still off the road, labour gets used twice, and the correct item goes on a second order. For SMEs running one or two trailers, that kind of delay hurts harder than it does in a big fleet.
Ask one practical question before buying: if this part arrives tomorrow, can it go straight to fitment with confidence? If the answer is no, the quoted delivery time is only part of the story.
UK-based knowledge usually saves money
A supplier serving British operators should understand details that overseas catalogues often gloss over. Corrosion resistance matters more for trailers kept outside through wet winters. Electrical components need to cope with spray, road dirt, and repeated coupling work. Brake and running gear parts must be described in a way that stands up to workshop scrutiny, not just online browsing.
That does not mean every overseas supplier is poor. It means the checking burden is higher. Duty, returns, and delays also become a bigger issue when the wrong part has crossed a border.
If you are comparing replacement routes more broadly, this guide to OEM vs aftermarket parts is a useful reference. The same trade-off applies to trailers. OEM usually gives you cleaner fitment certainty. Good aftermarket parts can still be a sound buy, but only when the supplier can back them up with proper specification and application detail.
Questions that separate serious suppliers from order-takers
Before placing a larger order, or buying anything safety-related, send a short message and judge the reply.
- Can you confirm fitment against my axle, hub, coupling, or brake reference?
- What dimensions do you want me to verify before ordering?
- Is this part intended for frequent commercial use, or only light-duty replacement?
- What finish or material is used, and how does it hold up in UK outdoor storage?
- How do you handle returns if the part is unused but incorrect?
Good answers are specific. Poor answers repeat the product title back to you.
A short reply from somebody who knows trailer parts is often more useful than pages of generic reviews.
Look past the website polish
A tidy site helps, but it does not prove the business behind it is organised enough to support a working operator. What matters is whether the catalogue, policies, and support process help you buy correctly the first time.
Useful signs include clear category structure, multiple product photos, technical wording instead of sales fluff, and delivery and returns information that is easy to find. A supplier that invests in clear digital presentation usually makes buying easier too, much like the conversion-focused web work shown in this automotive website design project for Kwicksilver Kustoms.
The best suppliers do more than sell parts. They reduce downtime, reduce repeat ordering, and give you enough confidence to fit the part without wondering whether it will become a safety problem at the next inspection.
Installation Basics and Long-Term Maintenance
Buying the right part solves only half the problem. The other half is fitting it properly and checking the trailer often enough that the next failure doesn’t catch you out on a busy day.
You don’t need a full workshop manual to improve reliability. You need a disciplined routine.
Installation basics that should never be skipped
Start with the obvious. Make the trailer safe to work on, support it correctly, and don’t rush because the courier arrived late and the next job is already booked.
For common replacement work, keep these habits:
- Use the right tightening method: Wheel fixings need a proper torque wrench, not guesswork with a breaker bar.
- Inspect mating surfaces: New parts fitted to rusty, distorted, or dirty mounting faces often fail early.
- Replace related consumables where sensible: Split pins, worn fixings, damaged connectors, and tired bushes shouldn’t be reused just because they’re still attached.
- Check cable routing and clearance: Brake cables and wiring looms need to move without rubbing.
- Test before road use: Spin wheels, confirm free movement, and check light function before loading the trailer.
If brakes have been worked on, the system needs careful checking and proper adjustment. If you’re not confident, that’s the point to hand the job to a qualified trailer specialist rather than turning a parts problem into a safety problem.
Road-test only after you’ve done a no-load check, a slow-speed check, and a final visual inspection.
A maintenance schedule that works in the real world
Most small firms don’t need a complicated maintenance software setup for a modest trailer fleet. They need a repeatable inspection pattern that someone follows.
Use three intervals.
Before each use
- Tyres: Condition and obvious pressure loss
- Lights: Indicators, brake lights, tail lights, number plate light
- Coupling: Secure engagement and visible wear
- Load area: Deck, ramps, catches, and restraint points
- Breakaway setup: Present and correctly arranged where applicable
Weekly or after heavy use
Walk around with the trailer empty and unhurried.
Check wheel nuts, inspect tyres for unusual wear, look for grease leakage around hubs, examine cable runs, and look underneath for cracked brackets, broken clips, or fresh corrosion.
Periodic workshop inspection
At this point, look deeper at bearings, brakes, bushes, suspension hardware, and structural condition. The exact timing depends on use, load, storage, and mileage, but the important thing is to make it scheduled rather than reactive.
A branded checklist, service log, or maintenance reminder system also helps teams take it seriously. That’s the same reason businesses invest in clear digital processes and customer-facing systems through work like Vision Autoworks. Consistency beats memory.
What long-term reliability actually looks like
Reliable trailers aren’t the ones that never wear out. They’re the ones that get inspected early, repaired with the correct parts, and kept out of the cycle of rushed fixes.
That means:
- accurate part identification
- sensible installation standards
- regular checks
- a record of what was fitted and when
Do that well, and most trailer issues become planned maintenance instead of lost working days.
Your Blueprint for Trailer Reliability
Most businesses start thinking seriously about trailer parts only after a failure. That’s understandable, but it’s not the best operating model.
A stronger approach is to treat trailer parts direct sourcing as part of fleet control. You identify components accurately, buy against real specifications, choose suppliers who can support the order properly, and fit parts with enough care that the repair lasts.
What good operators do differently
They don’t guess at axle size from body width. They don’t order wheels by eye. They don’t buy safety-critical parts purely on price. They don’t assume overseas listings reflect UK legal and environmental realities.
Instead, they build a simple system:
- Know the trailer by its main assemblies
- Measure before ordering
- Check fitment, quality, and suitability
- Use suppliers that reduce uncertainty
- Install carefully and inspect routinely
That system is boring in the best possible way. It prevents chaos.
Value comes from fewer mistakes, not just lower basket cost
A business saves money when the trailer stays available. That’s the gain. Not just a lower invoice total, but fewer missed jobs, less workshop rework, less emergency ordering, and fewer safety concerns.
For UK firms, the country-specific details matter. Wet conditions, coastal corrosion, roadworthiness obligations, and the limits of generic imported advice all shape what “the right part” means.
Keep the trailer working, and the business keeps moving
A trailer that starts every week ready for work isn’t a lucky outcome. It’s usually the result of straightforward habits done properly.
Measure carefully. Buy intelligently. Stay alert to compliance. Maintain the trailer before the defect becomes a breakdown.
That’s how a working trailer stops being a recurring headache and becomes what it should’ve been all along. A dependable part of the business.
If your business also needs a stronger online presence to sell products, generate enquiries, or present your services more professionally, DesignStack is a Dorset-based digital agency worth a look. They build websites, eCommerce stores, branding, and digital systems for organisations that want clear communication, dependable delivery, and design that helps the business grow.


Leave a Reply